SSH
Please also review the Troubleshooting TTP which gives information on configuring a PC to connect to a Tesira system for testing purposes.
SSH is configured by specifying the IP address of the Tesira Server and connecting via port 22. The ability for Tesira Server, Server IO, Tesira Amplifiers or TesiraFORTÉ devices to use SSH can be enabled or disabled via a DEVICE TTP command or in the Device Maintenance Settings > Network Settings dialog.
When controlling multiple Tesira units that are not part of the same TMF file, each Tesira server unit will need to be addressed via its own SSH Session.
Commands sent via SSH are encrypted.
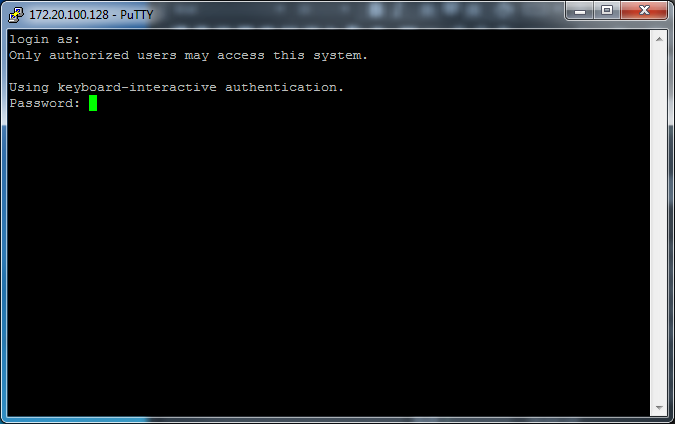
Opening a SSH session to a Tesira Server results in a login prompt. Valid credentials must be provided to access the system in any way. One must be logged in as controller or higher level to make any changes to the system, while an observer can only query the system for levels and other current parameters.
The SSH Login requires case sensitive User and Password authentication. In an unprotected system, the Username is default and Password is not required. In a protected system, the credentials configured in the system must be provided.
The number of SSH sessions is limited to 80 connections per Tesira. Once 64 sessions have been established, new sessions will begin failing to connect based on a planned percentage failure basis. Once all 80 sessions are reached, all further connections will be refused. This is a mechanism of SSH's design to reduce the likelihood and effect of a DDOS attack.
SSH Login Banner
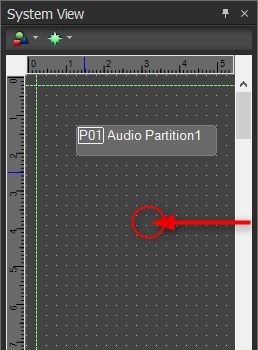
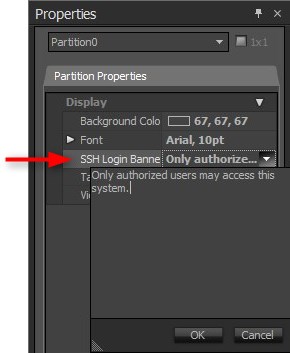
A customized SSH logon banner can be defined by selecting the background of the System View. Then, in the Properties Sheet, 'Partition 0' will be shown with an option to define the SSH Login Banner line item. When selected, a text box appears allowing message customization.
Example: